I can give you an overview of how I go about modelling.
So my workflow is sculpt > retopology > rigging (if I’m going to do that) > uvs and texturing. Really, I find the bulk of the modelling work is in the sculpting - everything else gets information from the sculpt you do. I guess I should also mention that you probably need a graphics tablet if you’re going to be sculpting - then you can take advantage of all the pen pressure settings.
First off, get references where you can. The great thing about Basic Wing was that in PDS during battle mode you can get a perfect side-on view, so you can get screens of that off Google images and set that up in your Blender viewport side view, using the ‘Background Image’ option in the right-hand toolbar, the one you press ‘N’ to bring up. Then you can align your base mesh with this image. Any other reference images, you can bring into Pureref, which is a great free program that can sit on top of Blender while you’re working in it.
Now for sculpting we need a base mesh, a mesh that’s the basic shape of the model. You can make base meshes easily in a few ways - you could use the Skin modifier, or use the ‘marionette technique’, as seen here https://www.youtube.com/watch?v=y7c0sPSy_28 (Yan’s daily tips gives a great overview of Blender in bitesize pieces, well worth a look). For the Basic Wing base mesh I used a combination of the two methods - the Skin modifier for the main ‘tube’ of the body; a sphere for the head, some extruded cubes for the wings and the helmet thing, and I think I used a stretched cube for the armour on the back. For the legs, I used a bunch of spheres for each of the parts of the leg (thigh, shin, foot, claws), sculpted each part individually, and booleaned them together as I went. I kept all the other parts separate though since with a complex model it can be easy to sculpt the wrong bit by accident. At the end you can just boolean everything together if you want.
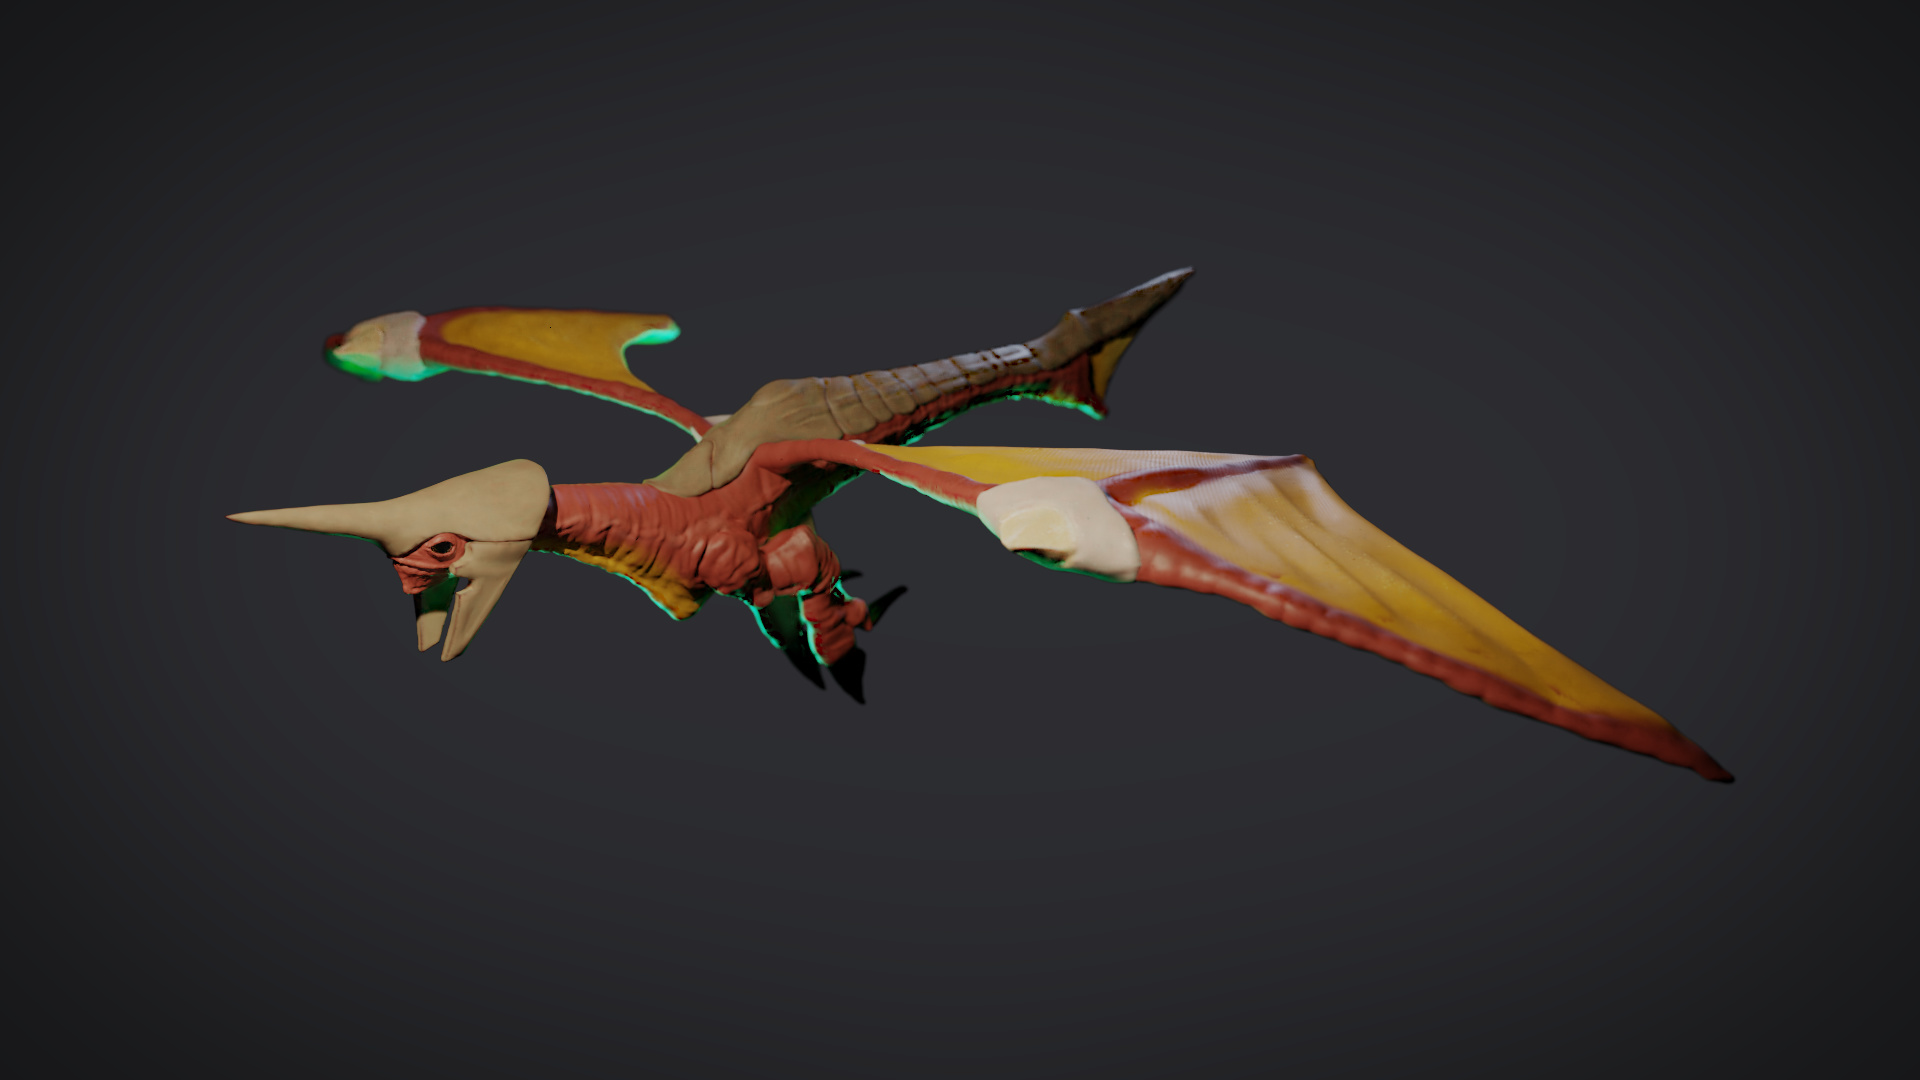
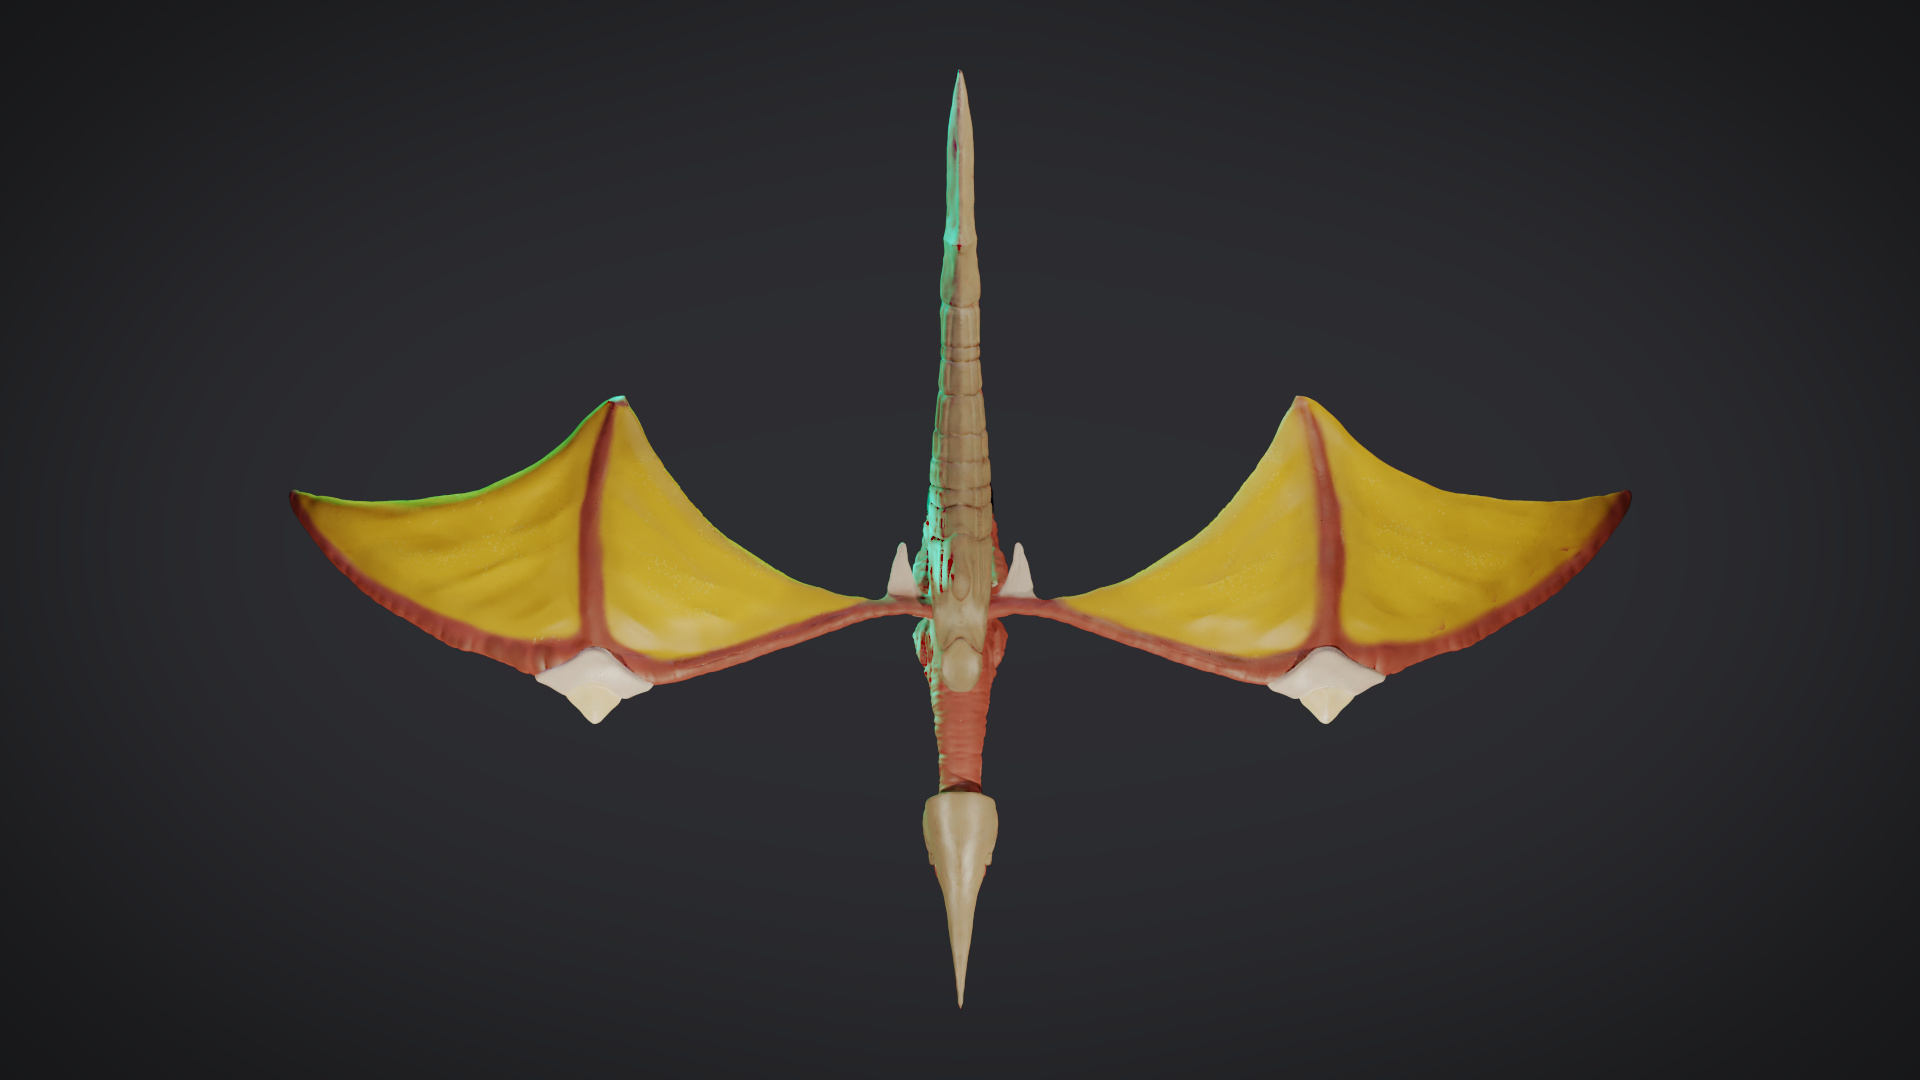
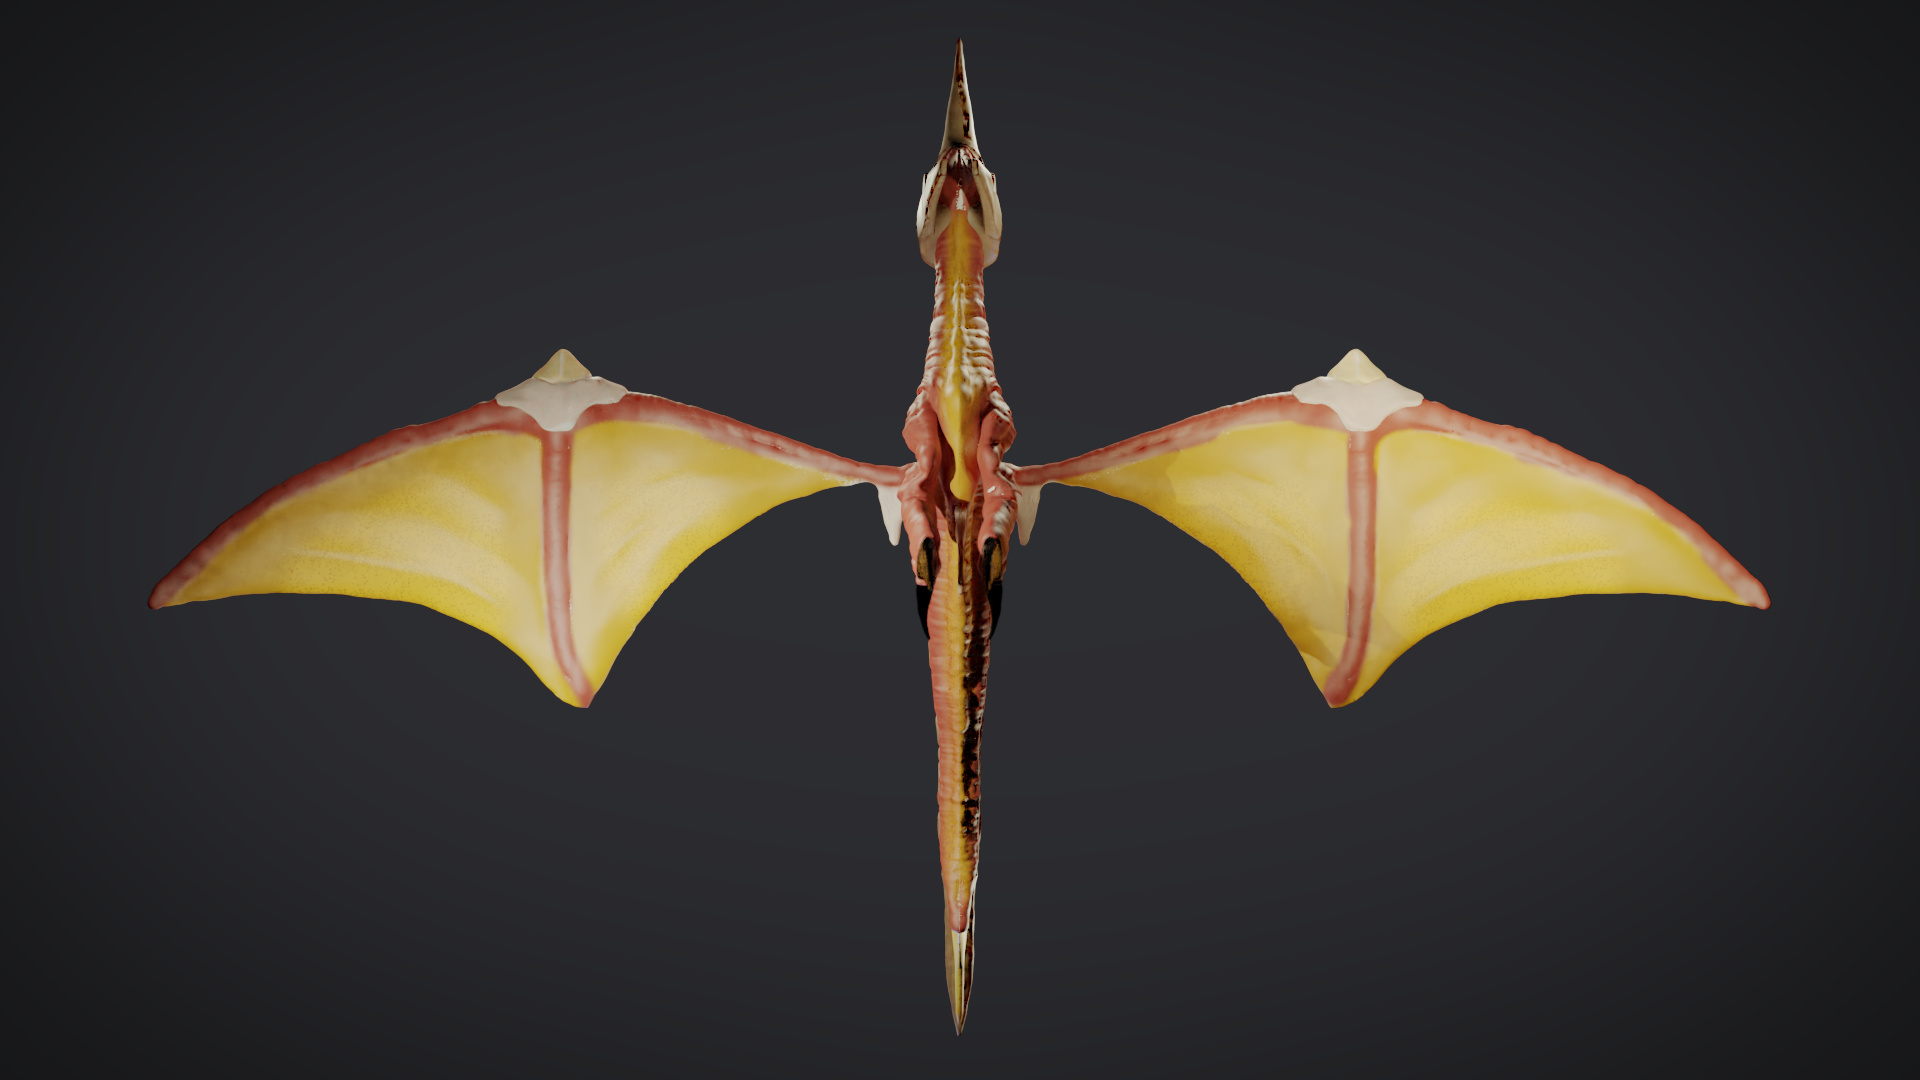
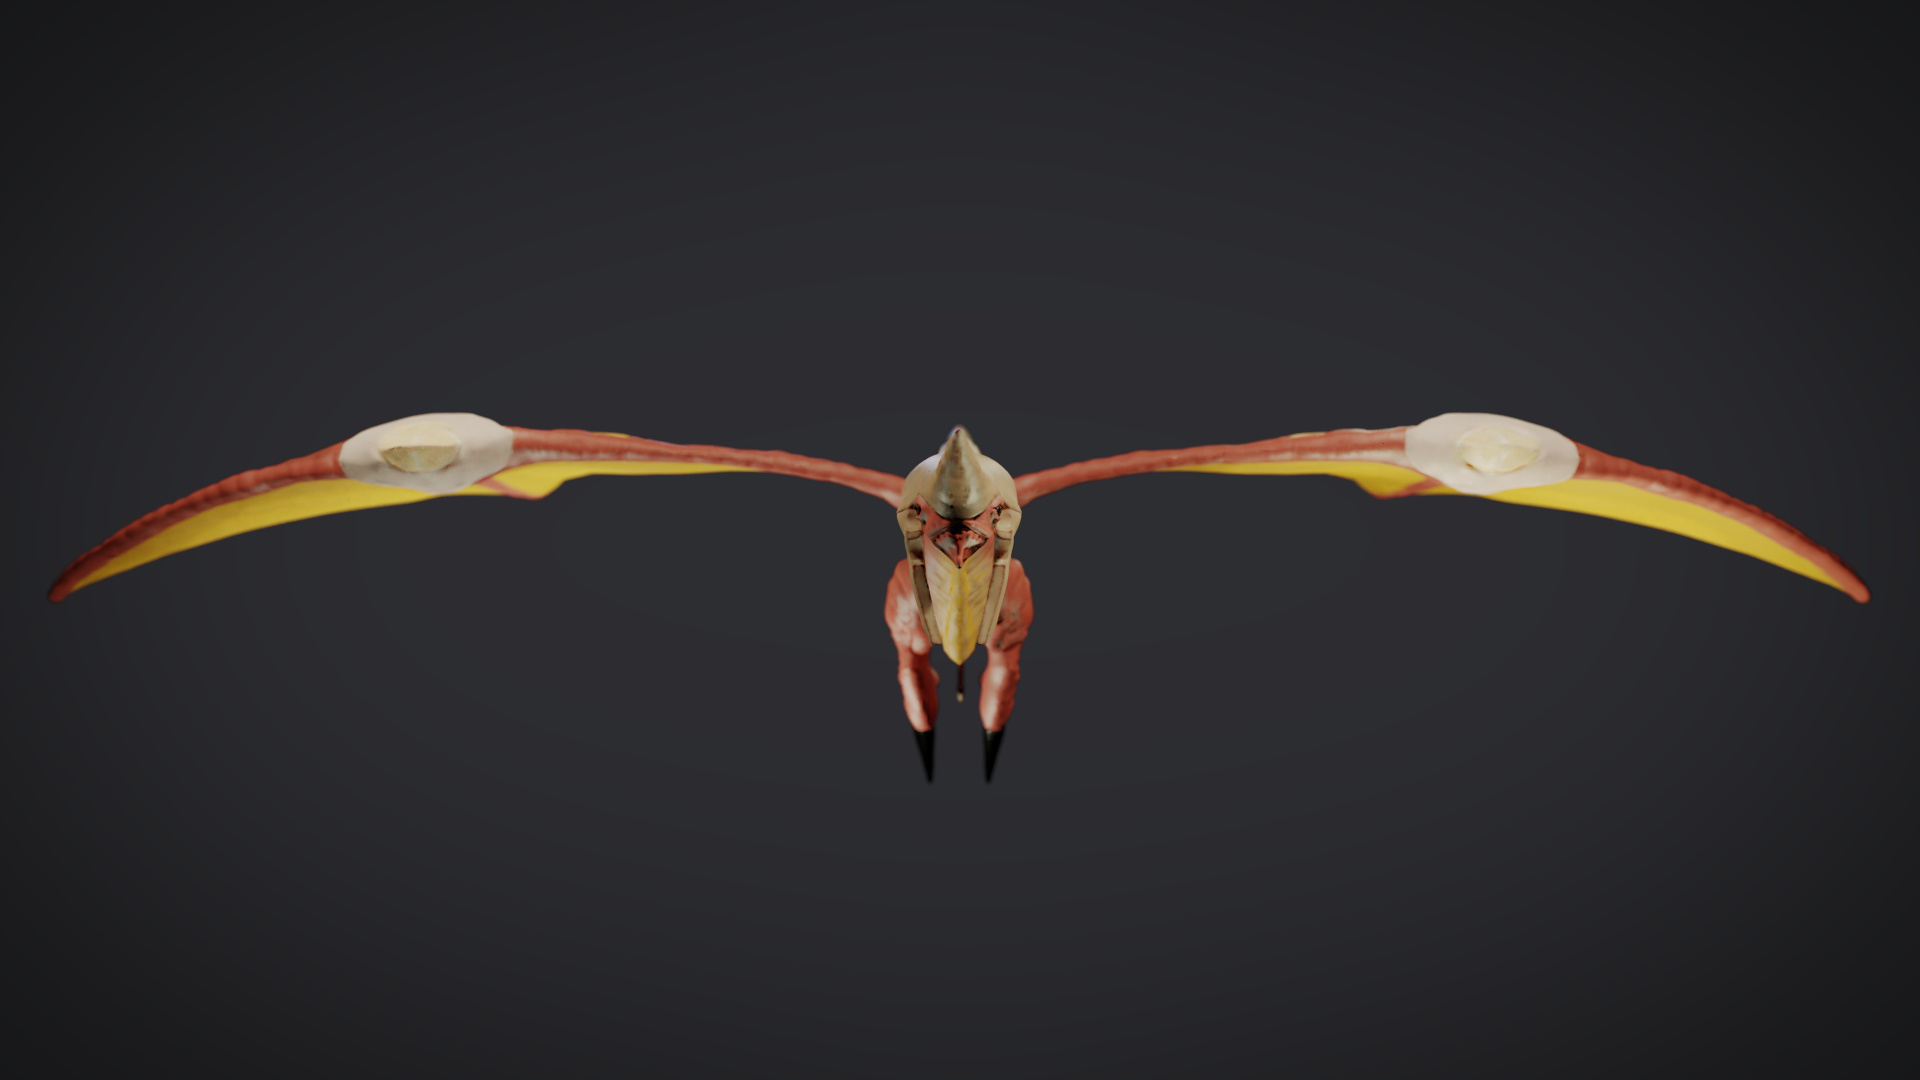
So now we go into Sculpt Mode and turn on Dynamic Topology. This will take your low poly base mesh and give you more polygons wherever you put your brushstrokes. When you’re sculpting I find it’s best to work big to small - start on a low tessellation level to rough out the forms, then gradually add more and more detail. So for the dragon I started with flattening out the face, sculpting the basic shape of the eyelids around a sphere that will act as the eyeball, and using the Crease Brush for the mouth. For the body it’s again flattening it out so it’s not so tubular - using the Grab brush on a large size can help here, for example pushing the tail it at the sides in top ortho view for a tapered shape, and smoothing it out using the Flatten brush and the Smooth brush. Then the Crease tool on a large size to mark the ‘indented’ bit at the side, as well as to rough out the tail. You can use Clay Strips to rough out some of the larger wrinkle shapes. Then just continue on with finer and finer detail. This is a really good intro to sculpting: https://www.youtube.com/watch?v=tZnUgt659oI
Keep in mind that while you can get a lot of detail with Dynamic Topology, you won’t get everything. So for example, on this model I was able to get some large wrinkles on the skin, but for very very fine details (ie very tiny wrinkles; cracks in the armour) , you’re going to need to paint bump maps. So, now we retopologise (so we can rig and animate the thing), then it’s on to rigging.
Before you rig, though, you have to make sure the scale of the model is correct, so that if you import it into another scene, it won’t be too big or too small compared to other objects. Once you’ve rigged it, you can’t change the scale. You can judge your scale by the grid units in the background in orthographic view, which are known as Blender Units, but you can change the measurements from Blender Units to metres instead. I find it’s better to rig before texturing since you can adjust topology if any deformations go wrong. Any shape keys you’re going to add, eg. for facial expressions, do after the rigging, when you’re sure you’re not going to add/delete any more faces. If you add a shape key, then delete/add a face, the shape key will be messed up and you’ll have to do it again.
After that, UV unwrap it, and do some baking. Bake a displacement map from the sculpt to the retopology mesh - any fine detail that’s on the sculpt that the retopology can’t show, the displacement map will get. Also bake an Ambient Occlusion map (AO is a good basis for your Diffuse map - paint your texture over it using Multiply layer mode and you’re got some nice shadow definition). Then for your very fine detail you can use Texture Paint mode within Blender in order to paint a bump map directly onto your model - the Bump Map changes the way light interacts with the surface, so it looks like there are creases etc. where there actually aren’t. You can also paint a Specular map - this controls which parts of your model are shiny. The Specular map is black and white: black = 0 = not shiny; white = 1 = shiny. The Bump Map works similarly, but controls whether the brush strokes make the surface look pushed out or in. There are tutorials that will clarify this.
The material I used for Basic Wing was the new Principled BSDF node - that has a load of settings in one Cycles node. I only made a very basic vertex paint texture for the sculpt, but I added some Sub Surface Scattering for the skin (that’s the effect that makes your skin light up red when a strong light is on it), and I think i might have increased the roughness for the specular setting - if it’s too low it looks like plastic. I added a little bit of SSS to the armour as well to make it look a bit like bone. Cycles has changed a bit since I last added some proper textures so I’m not entirely sure how you input your bump map or displacement map, but the Diffuse map you plug into the ‘Color’ part of the shader, and the Specular map you plug into… either the roughness or the strength, I can’t remember. But it’ll be easy enough to find a tutorial.
So now the dragon is textured and ready to animate. Now, what if you want to put him in a scene, say, one with a model of the Valley in it? Well, for rigged models, you would Link them into that scene. That way, if you change anything in the original Dragon blend file, it carries over to your Valley scene as well. Here’s a tutorial on that: https://www.youtube.com/watch?v=HTeKrqBJSBo .
As a side note, if you’re having trouble with rigging in Blender, the whole Humane Rigging dvd is on Youtube and is a great resource.
What a textwall! Anyway I hope that helped in some way.